Welcome back! In my previous post, I talked about how I turned my ASUS Chromebook CX1100CNA into a lean, mean Linux machine running Arch Linux and Openbox. It's been a blast, but as I started using it more, I ran into a massive wall: storage.
The 30GB Struggle
As I mentioned before, this laptop only has 30GB of eMMC storage. After installing the base system, a few tools, and some documentation, I was already sweating every time I ran df -h. 30GB is enough for a minimal setup, but it doesn't leave much room for "daily driving" things like larger projects or media.
My solution? A 32GB SDCard. It's not the fastest storage in the world, but it doubles my available space! However, getting it to play nice with Linux on this specific hardware turned out to be another "bumpy road" moment.
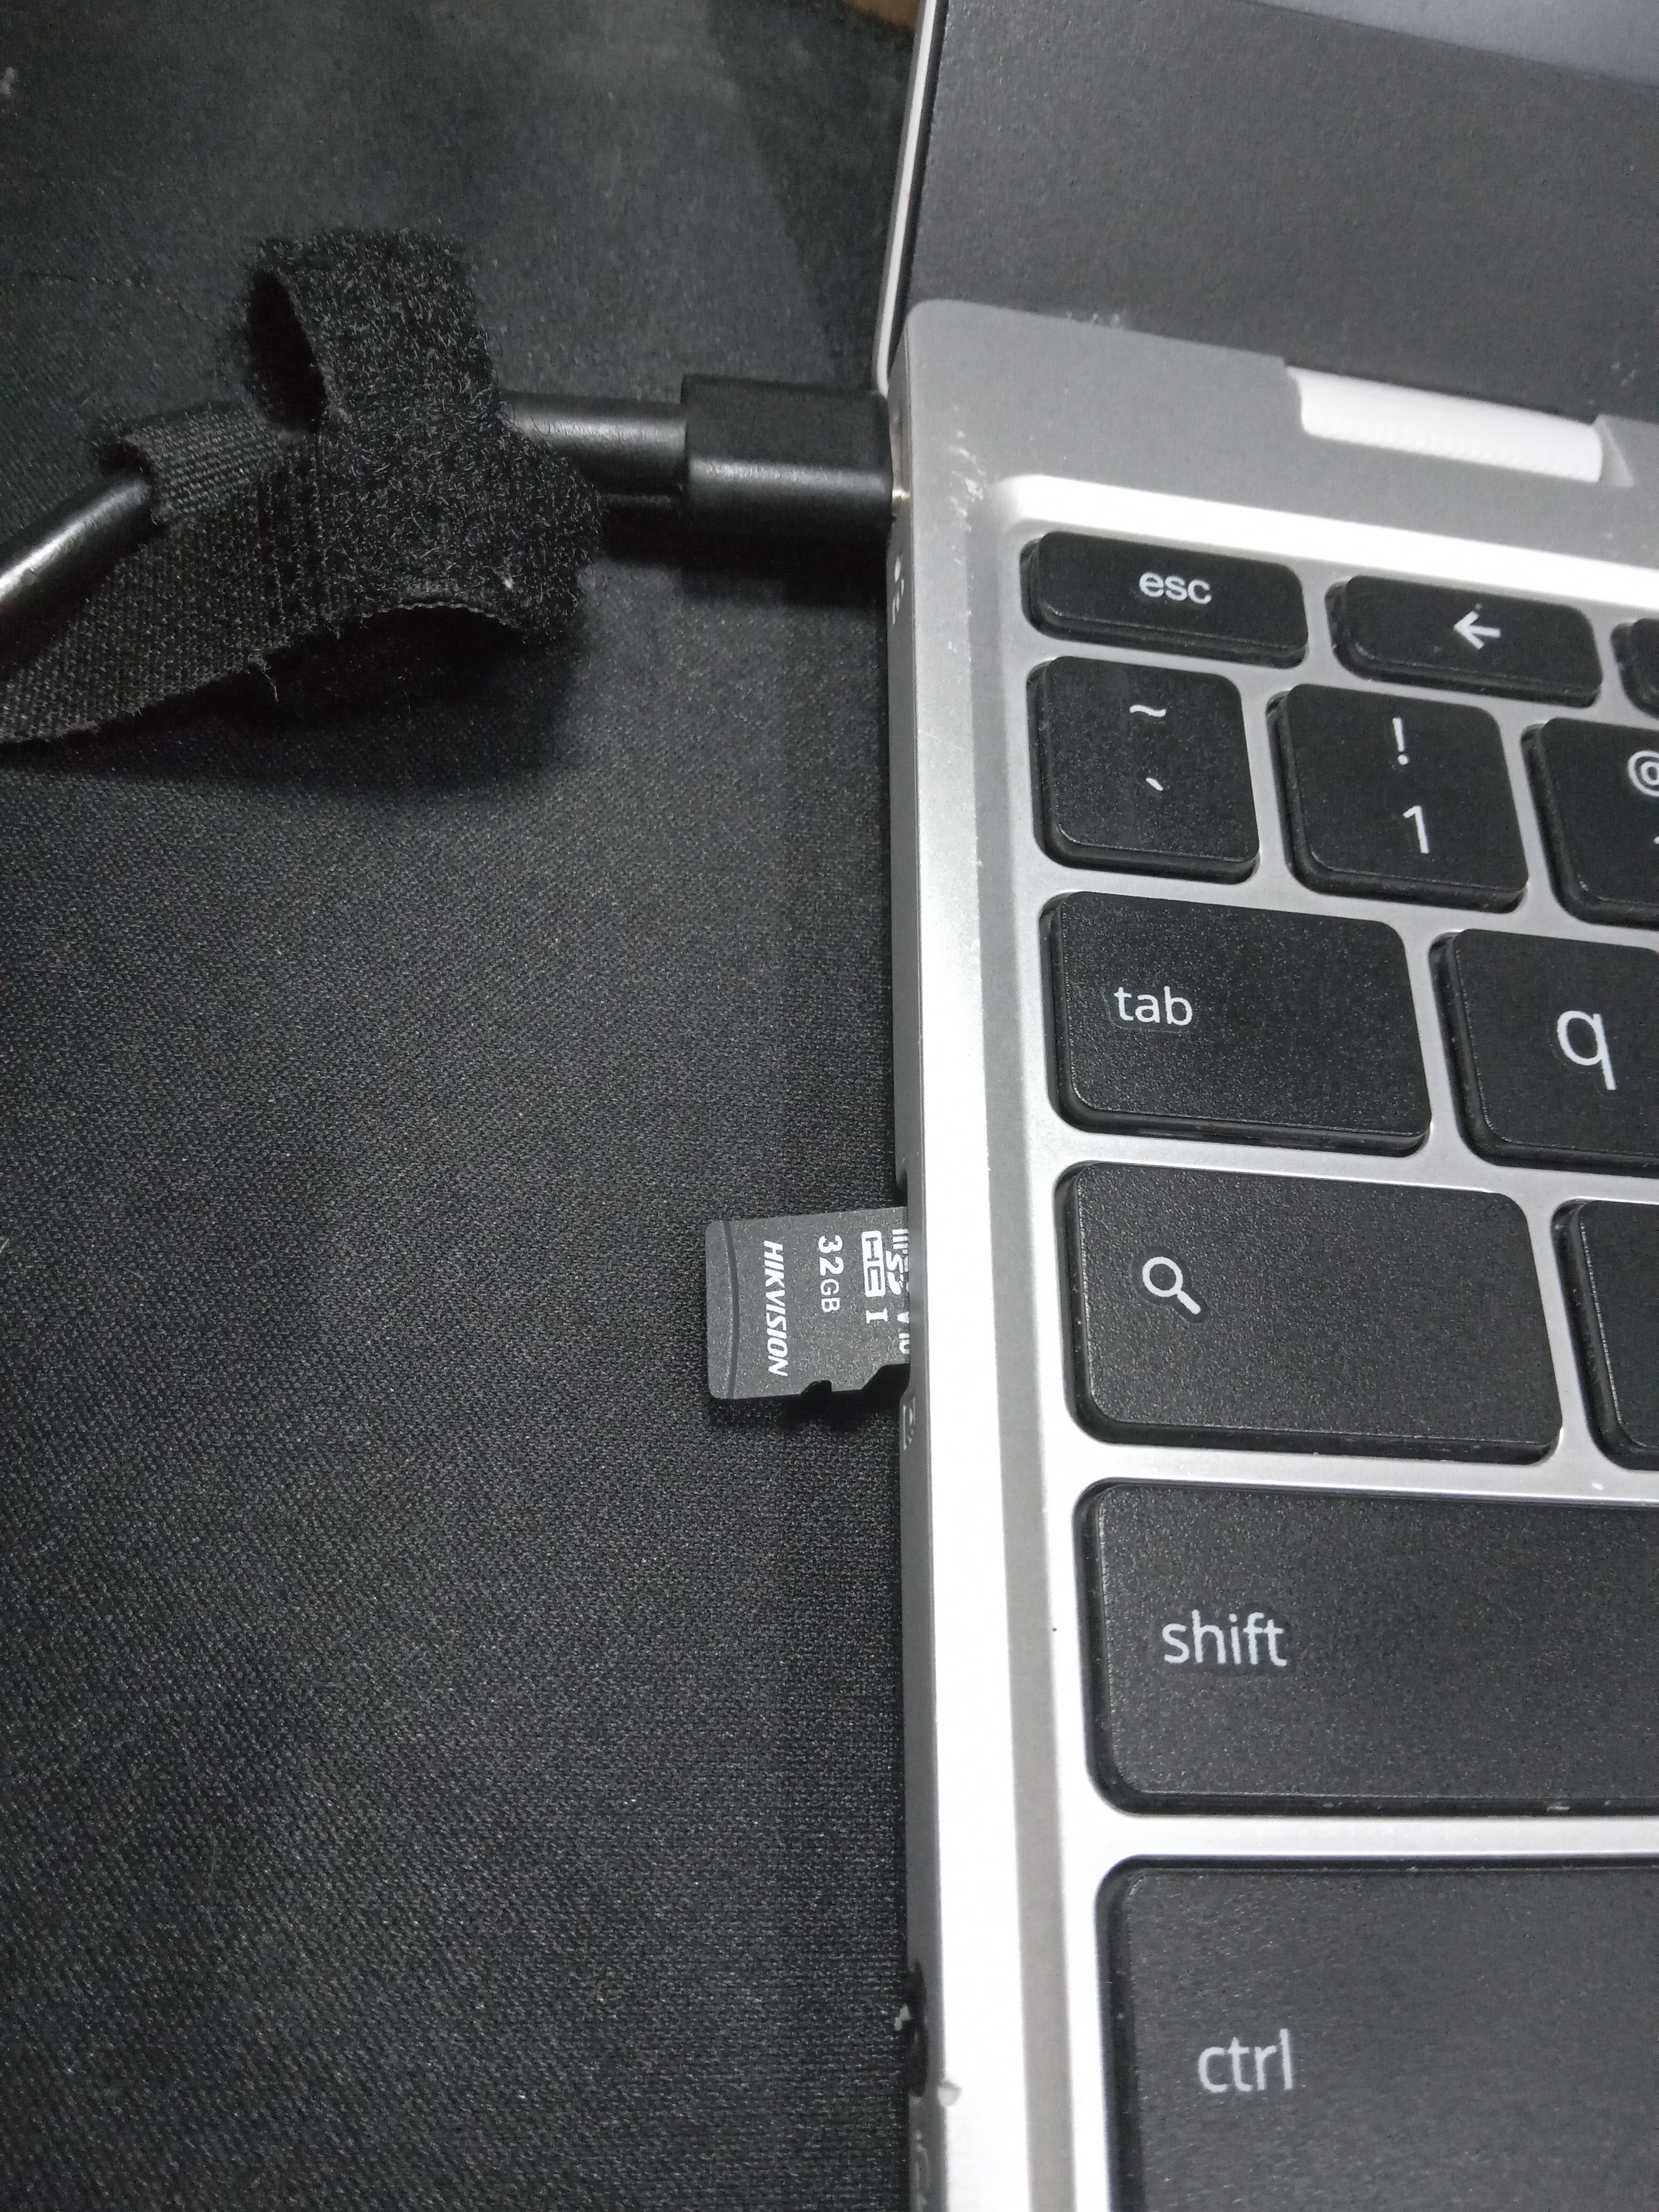
The Ghost in the SD Slot
For some reason, the SDCard wouldn't show up in lsblk after a cold boot. I had to physically pop the card out and push it back in for the kernel to recognize it. That's fine for a one-off, but doing it every time I turned on the computer was getting old fast.
I headed over to the #archlinux IRC channel to ask for help, and the people there was amazing! After some debugging, we figured out a "hacky" but brilliant solution. Instead of physical intervention, I could force the PCI bus to rediscover the SDCard reader.
The fix involves echoing a "1" into the remove file of the PCI device and then triggering a rescan. I put these commands into a script called fix-sdcard which I later saved into /usr/local/bin/:
#!/bin/bash
echo "1" > /sys/bus/pci/devices/0000\:00\:1b.0/remove
echo "1" > /sys/bus/pci/rescan
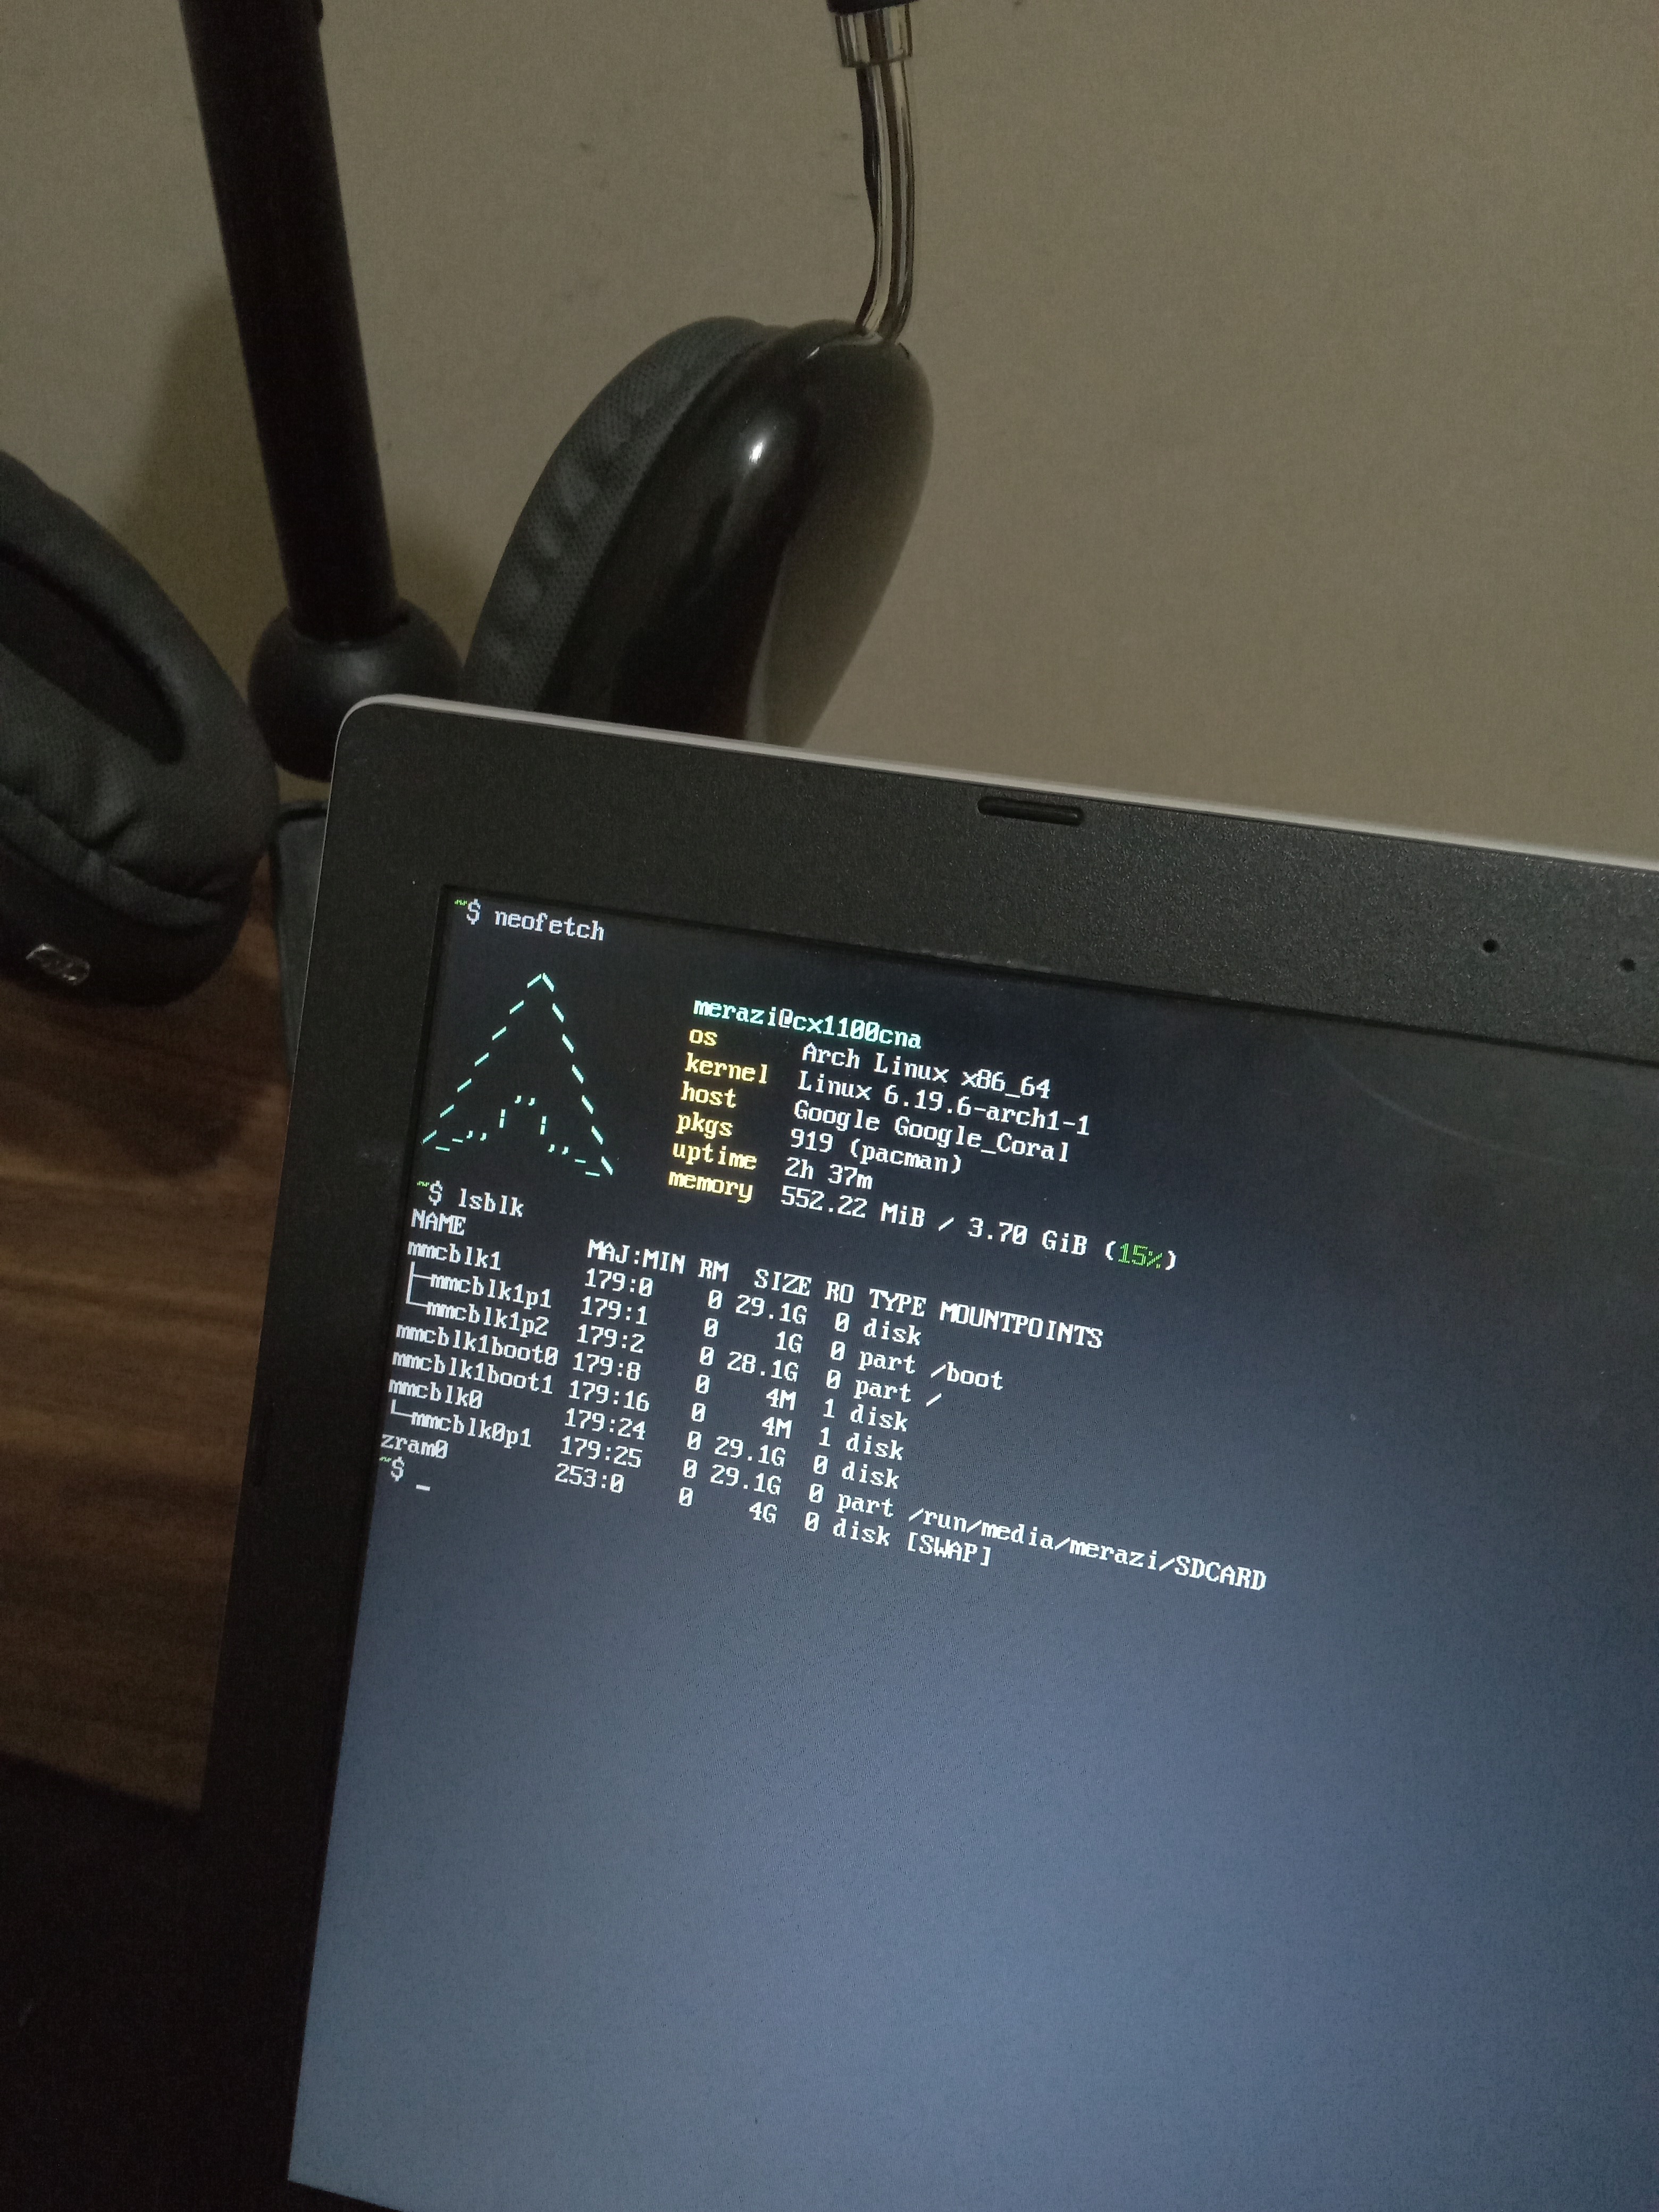
Suddenly, lsblk would see the card! It felt like magic (the Linux kind). The real reason I wanted to write this blog post is so I could save the solution in case I needed it again in the future (hope I won't lol).
Automating the Hack
Of course, I wasn't going to type those commands manually every boot. I wrote a simple systemd service called fix-sdcard.service to handle the heavy lifting during the boot process:
[Unit]
Description=Fix SD Card Configuration Service
After=local-fs.target

[Service]
Type=oneshot
ExecStart=/usr/local/bin/fix-sdcard
RemainAfterExit=yes

[Install]
WantedBy=multi-user.target
Now, the PCI bus rescans itself automatically before I even reach the login screen.
But I didn't stop there. I wanted the card mounted and ready to use as soon as I logged in. Since I'm using a lightweight setup without a heavy desktop environment to auto-mount things, I added this to my ~/.bash_profile:
if [[ $(tty) == /dev/tty[0-2]* ]]; then
    udisksctl mount --block-device /dev/disk/by-label/SDCARD
fi
Now, the moment I log into my desktop my additional storage is sitting there waiting for me, no physical swapping or manual mounting needed, just 62GB of total storage ready to go. By the way, I've recently swapped from Openbox to the incredibly snappy IceWM. My previous experience using it on another machine (which I wrote about here) was the main inspiration for the switch on this Chromebook too!
Why I Still Love This Thing
You might be wondering why I put up with these quirks. Honestly? I love this ASUS Chromebook.
The portability is unbeatable! I can toss it in any bag and barely notice the weight. But the real star is the keyboard; for a "cheap" device, the typing experience is surprisingly tactile and comfortable for long writing sessions or coding.
It’s not the most powerful laptop in the world, but with these little tweaks and the help of the Linux community, it’s becoming the perfect companion for my daily tasks.
Thanks for reading Part 2!
Back to Home